What Happens Before Painting Starts: Pre-Job Inspection and Prep Work
What an in-home pre-paint inspection covers and the prep day that follows: surface checks, drywall fixes, masking, and the Phoenix-specific steps that protect a finish.
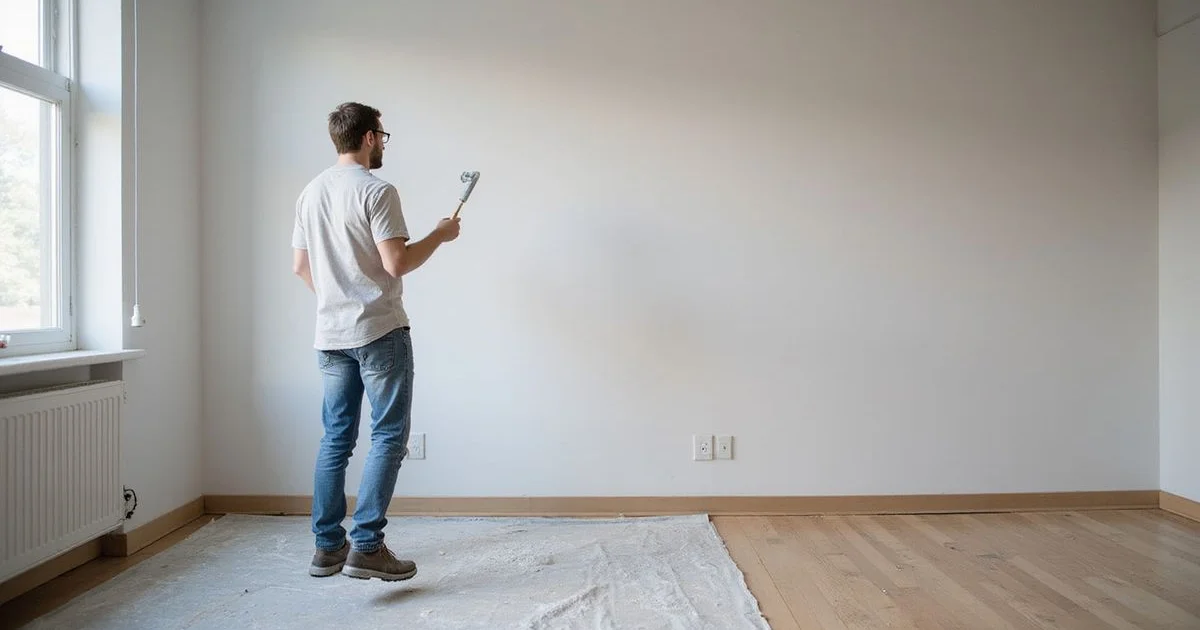
Our team at John Claude Painting treats the days devoted to before painting inspection prep work interior projects as the absolute foundation of a finish that lasts.
Established to provide professional painting solutions centered on reliability and superior craftsmanship, this business relies heavily on thorough interior paint prep work. You know how the real quality of a paint job is determined by the hours spent before the can is even opened?
We find that the walkthrough and prep block decide whether the color sits flat and whether trim lines stay crisp. According to Architekwiki data, up to 80 percent of coating failures are directly linked to poor surface preparation. A rushed once-over simply guarantees a sloppy result.
Walking through the before painting inspection prep work interior phase
Our pre-job painting inspection is a guided walkthrough of every room set for paint. A lead painter checks surface conditions and writes down repair items before any color is chosen. Prep day comes next with a focus on masking, patching, and protecting your home.
We typically spend 30 to 60 minutes conducting a standard painter walkthrough Phoenix residents expect, while the prep work takes a half day to a full day. Drywall fixes and baseboard caulking heavily influence that timeline. Arizona’s extreme heat can negatively affect paint adhesion.
We prioritize proper preparation to ensure the new coat bonds correctly despite the desert climate. Professional teams often spend one to two hours per room just cleaning fine dust off the surfaces. The primary aim is a clear scope and an honest estimate.
What the inspector checks during the walkthrough
We walk every room with a clipboard and a flashlight so nothing slips through. You should expect the lead painter to flag patches, cracks, and any wall that needs more than a quick fill. This process prevents surprises once the job begins.
Our inspectors use a General Tools MMD4E pinless moisture meter to safely check for hidden leaks behind drywall. This non-invasive device detects moisture variations without poking holes in your walls. Specific drywall textures like Santa Fe or Skip Trowel are very common in the Phoenix Valley.
- Surface condition: Hairline cracks, nail pops, drywall dings, and popcorn texture areas.
- Moisture and stains: Water marks under bath ceilings or around laundry walls.
- Trim and baseboards: Caulk gaps, chipped corners, and scuffed kicks.
- Existing paint: Sheen, color depth, and the coat count needed for full coverage.
- Access points: Furniture to move, fragile items, pet zones, and allowed work hours.
We carefully note these hand-applied finishes because they require specialized patching techniques to match perfectly. The inspector also confirms color choices and the order rooms will be painted. That information becomes the working scope on the written estimate you sign before prep day is booked.
Surface checks built for Phoenix homes
Our experience shows that desert conditions leave fingerprints on interior walls that outside crews often miss. Dry indoor air pulls moisture out of older drywall. This lack of humidity opens hairline cracks above doors and along ceiling lines.
We look for faint discoloration where roof flashing has weeped during late summer monsoon storms. Homes built before 1980 in Mesa and Glendale often still carry popcorn ceilings. Scraping that acoustic texture adds prep time and requires an extra primer pass.
Our painters pay special attention to two specific regional issues:
- Alkaline surfaces: Older stucco or block walls inside garages need a specialized product like Loxon Concrete and Masonry Primer to ensure a uniform look.
- Failing paint edges: Heavy flaking requires a thick binding primer like Zinsser Peel Stop Triple Thick to glue down the edges.
Applying these specific sealers prevents peeling. This targeted approach creates a clean canvas for the final topcoat.
What gets done on prep day
Our crews follow a fixed sequence on prep day so nothing gets skipped. A clean, sound, and protected room is the only way a finish coat lays down right. Each step solves a specific problem the inspection flagged.
- Stage the room: Shift furniture to the center, cover with plastic, and lay canvas drop cloths edge-to-edge.
- Mask edges: Tape baseboards, window casings, switch plates, and ceiling lines using FrogTape Multi-Surface tape, which uses PaintBlock technology for razor-sharp lines.
- Patch and fill: Spackle nail holes, fill cracks, and skim-coat any larger drywall repairs.
- Sand smooth: Sand patches level to ensure the primer grips the surface.
- Caulk and seal: Run fresh caulk along trim, baseboards, and corner gaps where paint cannot bridge.
- Spot-prime: Hit bare drywall, water marks, and smoke residue with a stain-blocking primer.
We run a final dust pass before any color comes out of the can. Loose grit on a freshly sanded wall ruins a smooth roll. A HEPA-filtered shop vacuum captures 99.97 percent of the tiny particles, while a damp microfiber cloth safely removes the rest without spreading it into your air vents.
How prep time scales with the job
Our schedule adjusts because prep is rarely the same from one room to the next. Heavy patching or scraping completely changes the day plan. This table outlines typical timelines for different interior scopes.
| Room or scope | Typical prep time | What drives the time |
|---|---|---|
| Single bedroom, light patching | 1 to 2 hours | Furniture staging, and masking trim with FrogTape. |
| Living and dining combined | 3 to 5 hours | Floor protection, ceiling cut-ins, and HEPA vacuuming large areas. |
| Whole interior, average home | 1 to 1.5 days | Patching across rooms, caulking trim, and spot-priming. |
| Older home with heavy drywall work | 1.5 to 2.5 days | Skim coats, popcorn ceiling scraping, and applying specialty sealers like Zinsser Peel Stop. |
What to handle before the crew arrives
We appreciate a clean start because it trims the schedule and keeps the inspection accurate. Most of this preparation takes less than an hour the night before. Turning off your HVAC system before sanding begins is a crucial insider tip to keep drywall dust out of your air filters.
- Pull family photos, art, and shelves off the walls in painted rooms.
- Clear nightstands, dressers, and closet doorways for free movement.
- Remove curtains and small light fixtures the crew has flagged.
- Set aside a bathroom, water access, and a small workspace for the painters.
- Pen any pets in a quiet area away from the active rooms.
We recommend checking out how to prepare your home for painters for a step-by-step list. For the broader project arc from estimate to handover, see what to expect when hiring a painter. These guides help you get your space ready with confidence.
Setting up your in-home walkthrough
We view the inspection as the moment your project moves from an idea to a real plan with a firm timeline. The detailed notes taken on that walkthrough drive every prep choice on day one. You should always verify a contractor’s six-digit Arizona ROC license number online to ensure they are properly bonded and insured for residential work.
Our interior teams are fully licensed and ready to evaluate your space. To book a walkthrough for your home, see our interior painting service for the room-by-room scope we cover across the Phoenix Valley.
Reach out today to get your before painting inspection prep work interior scheduled and start your project on the right foundation.
Quick Answers
How long does the pre-job inspection take?
Most interior walkthroughs run 30 to 60 minutes for an average Phoenix home. Larger floor plans or rooms with heavy drywall damage can stretch closer to 90 minutes.
Does prep day count as a paint day?
No. Prep is its own block of work before any color goes on the walls. For a typical interior, prep takes a half day to a full day depending on patching, sanding, and masking needs.
Do I need to move all my furniture before the crew arrives?
Move what you can to the center of the room or to a non-painted space. The crew handles final positioning, plastic covers, and floor protection on prep day.
What if the inspection finds more damage than expected?
We adjust the written scope and walk you through the change before any work starts. You see the added prep time and any cost change in writing first.
Keep Reading
Best Interior Paint for Phoenix Homes (Low-VOC, Desert-Ready)
Which interior paint lines actually hold up in Phoenix homes — Sherwin-Williams,...
DIY vs Hiring a Professional Interior Painter in Phoenix
Honest numbers on DIY painting: tool cost, time, skill, and resale risk vs hirin...
How Long Does Interior Painting Take in an Occupied Home?
Per-room and whole-home interior painting timelines for occupied Phoenix homes —...
Interior Painting Cost in Arizona: What Drives the Price
What Arizona interior painting actually costs per square foot and per room — plu...
Need a Real Estimate?
We'll walk your property and write a scoped proposal within 24 hours — no cost, no obligation.