How to Prep Stucco for Painting in Arizona
The prep steps that separate a 3-year repaint from a 10-year repaint in Phoenix — power wash, pH, crack repair, primer selection.
We often see homeowners searching for how to prep stucco for painting after their new exterior paint starts peeling within just three years in the Arizona heat.
The reality is that the Phoenix sun demands an entirely different approach to surface preparation than milder climates. A simple wash and a basic coat of latex will fail quickly when wall temperatures hit 150 degrees.
Our pre-paint recipe at John Claude Painting stops premature fading and cracking in its tracks. Let’s look at the data behind proper curing. Then, this guide will walk you through the exact seven-step process to ensure your next repaint lasts a decade.
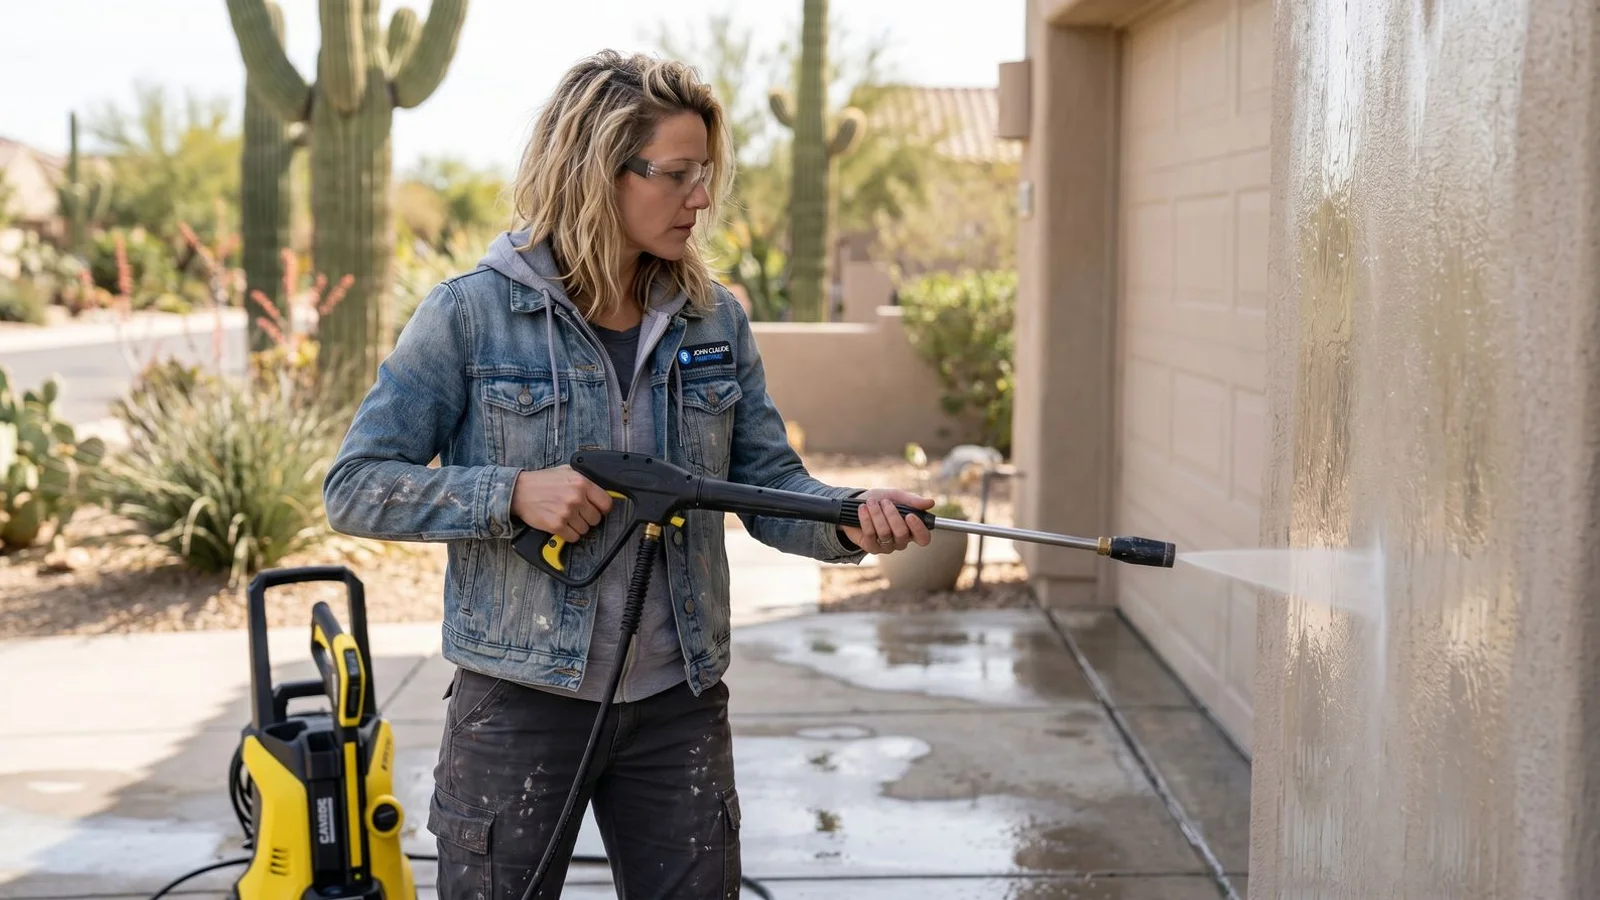
Step 1: Power Wash
We always evaluate the wall condition first to choose the correct pressure setting. Removing chalk, dirt, and loose material with a 3000 PSI pressure washer is the crucial first step for any sound stucco. Muddy water will run off as the old, degraded surface washes away.
Our standard process to power wash stucco phoenix homes safely follows these specific rules to protect the exterior texture:
- Step down to 2000 PSI on aged or fragile walls to prevent damage.
- Use a wide 25-degree fan tip on your equipment, as a zero-degree nozzle will instantly chip away the finish.
We focus heavily on the south and west walls where extreme UV exposure creates heavy chalking. Work top-down from the roofline and overlap your passes for a clean sweep. A thorough wash ensures the fresh paint bonds securely to the house instead of sitting on a layer of dust.
Step 2: Dry Time
Our crews adjust the drying schedule based on the current weather for the precise stucco prep arizona homes require. Letting the stucco dry until the moisture content drops below 15 percent is an absolute requirement before applying primer. Painting over damp walls traps water inside, which causes blistering, peeling, and efflorescence.
We verify the exact moisture level using a pinless moisture meter on every single job.
- Wait 24 to 48 hours for full evaporation during low humidity months.
- Extend the drying time to a full 48 to 72 hours during the monsoon season.
Our team knows that dry to the touch does not mean the wall is ready for paint. The core must be completely free of trapped moisture. A proper curing period prevents expensive failures down the road.
Step 3: Crack Repair
We rely on flexible, polymer-modified patch compounds like Sashco Cracks-Not-Back or Quikrete Stucco Patch. Patching cracks prevents moisture from penetrating the wall system and destroying the structural lath underneath. Small hairline gaps under 1/16 of an inch are normal but still need immediate attention.
Our painters expertly match the existing texture using a damp sponge, brush, or trowel. You must blend the repair perfectly to match your specific dash, skip, sand, or lace finish. Larger gaps up to 1/4 inch require a slightly different approach.
We address different crack sizes with specific materials to ensure a lasting repair:
- Hairline cracks under 1/16 of an inch need a simple polymer-modified patch pressed in with a putty knife.
- Gaps up to 1/4 inch require a polymer stucco mix after widening the opening with a chisel.
Our experience shows that structural gaps wider than 1/4 inch point to foundation issues. These severe fractures require an immediate consultation with a masonry specialist. Skipping proper crack repair will ruin the final topcoat within a year.
Step 4: Caulking
We exclusively use high-performance polyurethane options like Vulkem 116 or Sherwin-Williams SherMax. Sealing gaps around windows and doors with polyurethane caulk is the only way to handle extreme desert heat. Standard acrylic caulks dry out and split within months under the harsh Arizona sun.
Our team applies these durable sealants at several critical transition points:
- Seal the perimeters around all window and door frames completely.
- Fill control joints and expansion gaps to accommodate natural structural movement.
We also carefully caulk where the stucco meets wood fascia, trim, and plumbing penetrations. Advanced polyurethane formulas remain permanently flexible and stretch without tearing. Silicone-based caulks repel moisture but also repel paint, making them a terrible choice under a finish coat.
Step 5: pH Testing
We use simple pH testing strips directly on the damp stucco to get an accurate reading. Testing the alkalinity of fresh patches ensures the surface pH rests below 10 before standard paint touches the wall. Fresh stucco and new patches are highly alkaline and will burn the pigment right out of a new topcoat.
Our clients often need the project completed much faster than the standard 28-day curing window.
- A burned finish changes color rapidly and causes the paint film to break down completely.
- High-performance, alkali-resistant primers solve this exact problem for tight schedules.
We utilize specific acrylic conditioners to safely coat surfaces with a pH as high as 13. Products like Sherwin-Williams Loxon Conditioner or Dunn-Edwards Eff-Stop bypass the traditional wait time. These specialized liquids neutralize the alkali risk and lock down the surface perfectly.
Step 6: Priming
We apply a full coat of tinted primer during major color changes from light to dark. Applying an alkali-resistant primer is mandatory for bare walls, fresh repairs, or areas with heavy chalking. A high-quality masonry primer binds loose dust particles and creates a solid, uniform foundation.
Our painters always target exposed areas where heavy power washing removed the old chalky finish.
- Bare stucco requires a dedicated sealer during new construction or full wall removals.
- Repaired patches need primer over any polymer-modified texture to ensure an even final sheen.
We skip the dedicated primer step only when working over a sound, chalk-free surface. Premium topcoats are often self-priming on existing paint that is intact and completely clean. Tinting the primer provides a strong base color and easily saves you from buying an extra layer of topcoat.
Step 7: Topcoat
We recommend heavy-duty options like Dunn-Edwards ENDURALASTIC 10 or Sherwin-Williams Conflex XL for maximum longevity. Applying two full coats of 100 percent acrylic elastomeric paint provides the ultimate defense against the desert climate. These premium elastomeric coatings are formulated to go on up to eight times thicker than standard exterior latex.
Our painters actively back-roll the finish using a thick 1.5-inch nap roller to drive the material into every pore.
Spraying the paint alone will never achieve the required mil thickness to bridge small cracks.
You must wait the exact product-specified dry time between the first and second coat. We carefully inspect the final application under a raking light to reveal any thin holidays or missed spots. A flawless final inspection ensures the weatherproofing barrier is completely solid.
You can review our stucco painting and repair service for the complete preparation scope written into every contract.
Why Knowing How to Prep Stucco for Painting Matters
Our team knows that proper preparation extends the life of a Phoenix exterior paint job from a fragile three years to a solid 12 years. Rushed prep jobs fail rapidly because the basic cleaning and sealing steps get ignored. Skipping any step of this sequence reduces the durability of your coating by 30 to 70 percent.
We remind homeowners that the labor and materials for thorough preparation only add about 15 to 25 percent to the initial project cost. This small upfront investment easily pays for itself by preventing a massive, premature repaint. Book an assessment today to see exactly how to prep stucco for painting effectively on your specific property.
Quick Answers
Do you need to power-wash stucco before painting?
Yes — always. Contamination, chalk, and dirt kill adhesion. 3000 PSI is standard for sound stucco.
Why pH test new stucco?
Fresh stucco is high-alkaline and can burn paint film. Test pH and wait until it drops below 10 before priming.
How long after power washing can you paint?
24-48 hours in Phoenix low humidity. Check moisture meter before primer — dry-to-touch isn't dry-to-paint.
Keep Reading
Need a Real Estimate?
We'll walk your property and write a scoped proposal within 24 hours — no cost, no obligation.